
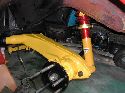
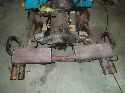
 New powdercoated trailing arms, roller bearings, and Porsche parts five lug conversion (mostly 944 parts). |
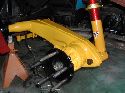 New powdercoated trailing arms, roller bearings, and Porsche parts five lug conversion (mostly 944 parts). |
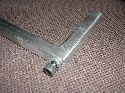
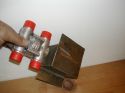
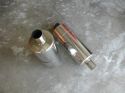
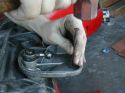
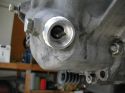
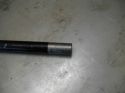
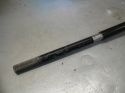
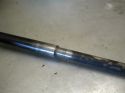
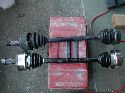 Brand new CVs, early 911 stub axles, modified 914 shaft. |
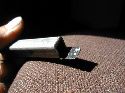
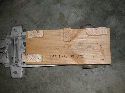
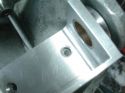
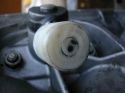
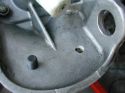
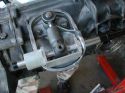
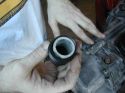
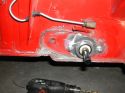
 Spacer installed so we have enough 'meat' drill and tap. |
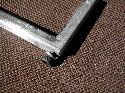
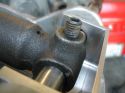
 Top piece notched to cap off the end pictured previously (showing the spacer). |
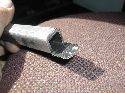 Top piece notched to cap off the end pictured previously (showing the spacer). |
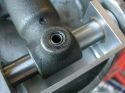
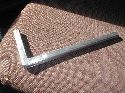 Welded together. |
 Welded together. |
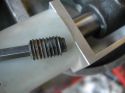
 Drilled and tapped. |
 Drilled and tapped. |
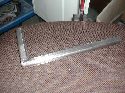
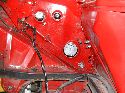
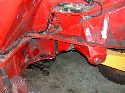
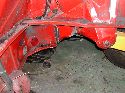
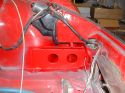
 Bottom oil cooler support tabs welded in. |
 Bottom support tab detail. |
 Bottom support dropped into place. |
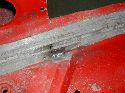
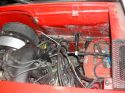
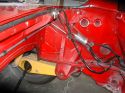
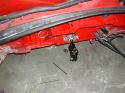
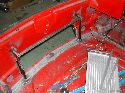 Oil cooler bracket welded into place. |
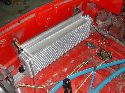 Oil cooler test fit. |
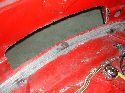
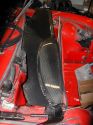
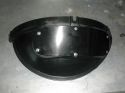
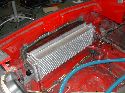 Oil cooler shroud. |
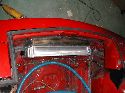 Oil cooler shroud. |
 |
 |
 |
 |
 |
 |
 |
 |
 |
 |
 |
 |
 |
 |
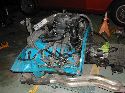
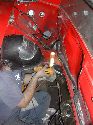
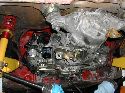
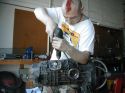
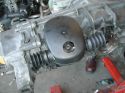
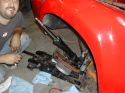
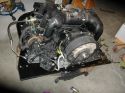
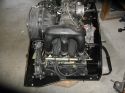
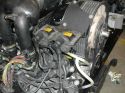
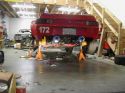
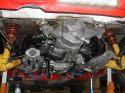
 Getting ready to test fit the 3.6 |
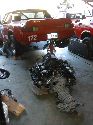 Getting ready to test fit the 3.6 |
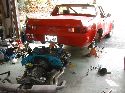
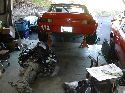
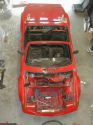
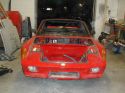
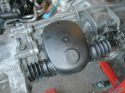
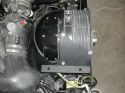
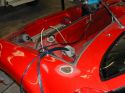
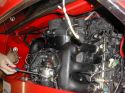
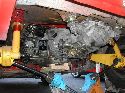 3.6 Test fit in the engine bay. |
 3.6 Test fit in the engine bay. |
 |
 |
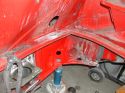
 Prepping for welding. |
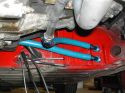
 Welding in the Rich Johnson mount. |
 Welding in the Rich Johnson mount. |
 Rich Johnson mount welded in. |
 Out 'custom' 993 engine lift plate. It worked great. |
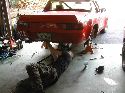
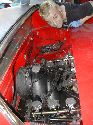
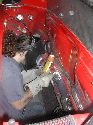
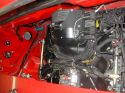
 993 3.6 installed for real. It'll have to come out once more. |
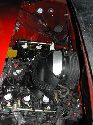 993 3.6 installed for real. It'll have to come out once more. |
 993 3.6 installed for real. It'll have to come out once more. |
 ANDY! |
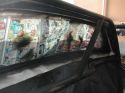
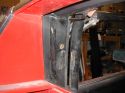
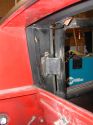
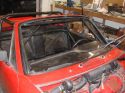
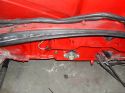
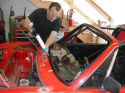
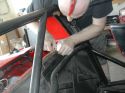 Removing the old rear window installation. |
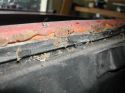 Original butyl + RTV = leaky mess |
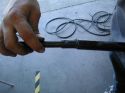
 The original seal has a wire inside that was used to heat up the material and 'seat' the glass. |
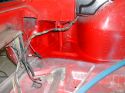
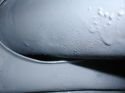
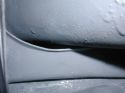
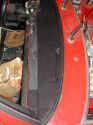
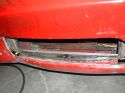 Last piece of the oil cooler intake welded and smoothed. |
 Last piece of the oil cooler intake welded and smoothed. |
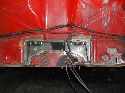
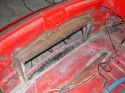
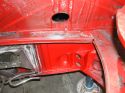
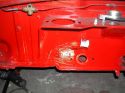
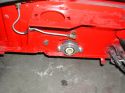
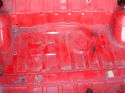 Rear trunk holes to be welded shut. |
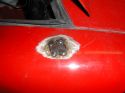 Antenna delete tacked into place. |
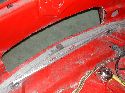
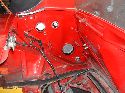
 Under headlight area in primer. |
 Under headlight area in primer. |
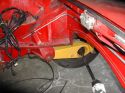
 Under headlight supports painted with Guards Red basecoat. |
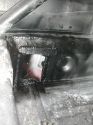
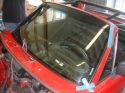
 Front windshield removed. |
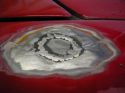 Antenna delete all done. No need to grind more as the car has a large 'bondo pit' that will be filled in. |
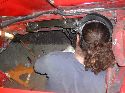
 Under headlights in Guards Red. |
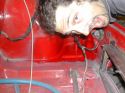 Under headlights in Guards Red. Plus my head! |
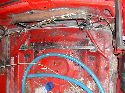
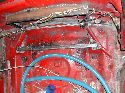
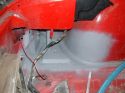
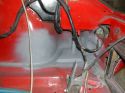
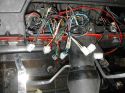
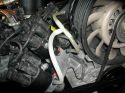
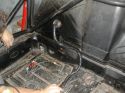 Wiring harness passes through the firewall. |
 And is routed along the top of the center tunnel. |
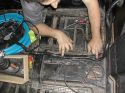
 And the ECU goes in the passenger footwell. |
 Wiring harness passes through the firewall. |
 Under headlight support set into place. Welding tomorrow. |
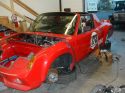
 More disassembly |
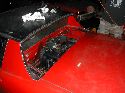
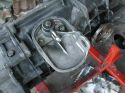
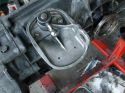
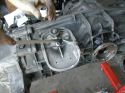
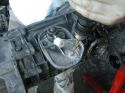
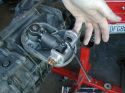
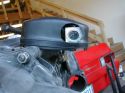
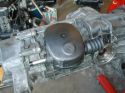
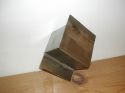 Oil thermostat mount box. |
 The thermostat will JUST fit inside. |
 Painting the rear window mount black. |
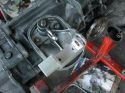
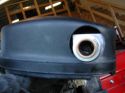
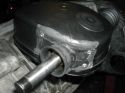
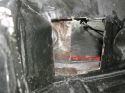 The hole for the oil thermostat box. |
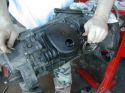
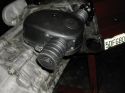
 Test fit of how the finished oil thermostat box will look. |
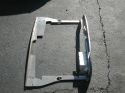
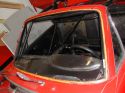 Front window is out and the mounting flange is cleaned up. |
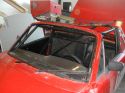
 Removed the old roll cage to targa bar tabs. |
 Welded in now roll cage to targa bar tabs. |
 Masked off the front window flange and primered. |
 Painting the flange. |
 The freshly painted window flange. Looks awesome. |
 The freshly painted window flange. Looks awesome. |
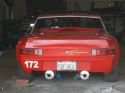
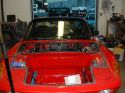
 The car after another day of work. |
 Nice dual muffler setup. |
 New mufflers test mounted. |
 Heater tube emerging from the long. |
 Heater tube emerging from the long. |
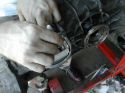
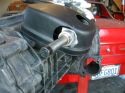
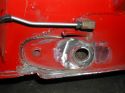
 Oil thermostat mounting complete. |
 Oil thermostat mounting complete. |
 Oil thermostat mounting complete. |
 Nice mufflers! Made by Sebring Tuning. |
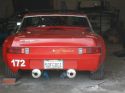 Mufflers test fit on the car. |
 All the gauges were removed and the wiring redone. |
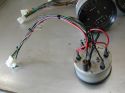 Each gauge now has its own 9 pin connector for easy removal. |
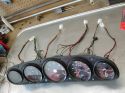 All five gauges in the housing. |
 The connectors in the body wiring harness. |
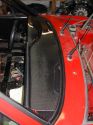
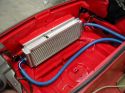 The front cooler is finally installed for real. |
 3.2 engine tin from Patrick Motorsports. Modification is necessary for the 3.6 including two pieces of the stock 3.6 tin. |
 Ready to start the James Adams JWest Shift Kit install. |
 Set the piece into place. |
 Mark the holes |
 See the mark? |
 Here they are. |
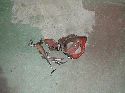
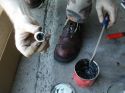 Greasing the new shift bushing. |
 Grease the shifter ball. |
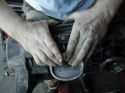 Push the bushing into place. |
 Push hard! |
 Center punching the spot to drill, so the bit doesn't wander. |
 We drilled a hole in the bushing to let air escape. Much easier install! |
 Center Punches. |
 Drilling the holes. |
 We used a Letter P drill bit. The perfect size. |
 Bolts fit perfectly. |
 Mounting the piece. |
 Tightening the bolts. |
 Inserting the stub rod. This uses the stock ball cup. |
 All together. |
 We ground a stock cone screw flat instead of using the supplied bolt. |
 This is how it looks before you grind. |
 This is how it looks all done. |
 Greasing the bronze bushings. |
 The cap installed. |
 Everything installed. |
 Tried modifying the cap to get a better fit. |
 Modified hole. |
 This thing! |
 Here it is all together as supplied. |
 Here it is all together as supplied. |
 We decided to cut apart an extra stock cover and rivet the 'tube' on the other side. |
 Close up of the customization. RTV used to seal the two pieces. |
 Cleaned up the excess RTV and installed the boot. All done. |
 Ground off the lip. |
 Install the bushing. |
 All painted. |
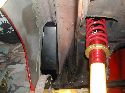
 New shocks. Shocking!! |
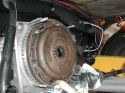
 Clutch release fork and throwout bearing |
 new shaft-seal for speedo angle drive |
 JWest shift kit |
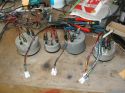
 rebuilding the dual distributor. replacing the drive-belt |
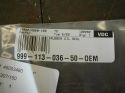 part number for speedo angle drive shaft seal |
 dizzy rebuild finished. old belt in front. |
 finished engine tin |
 dual dizzy vent setup. |
 more engine tin |
 and even more engine tin |
 did someone say engine tin? |
 stainless fuel-lines |
 stainless fuel-lines and fuel filter |
 refinished dashboard |
 Felt on the dash. |
 Carbon Fiber 911 dash from Getty. This was just clear coated, so it looks great! |
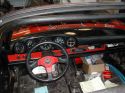 Gauges in! |
 Installing the JWest shift kit. We cut this portion off. We'll be using the part on the left. |
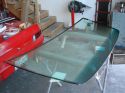 New windshield ready to install. Blacked the outside to work with the rubber trim (chrome delete). |
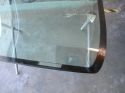 Don't forget to leave a gap for the VIN. |
 Powdercoated this aluminum cover for the engine 'tin'. |
 The piece we cut off the shifter was turned down in a lathe to remove the outside that was welded on at the factory. |
 This is how the pieces will be going together. They just need to be welded. |
 This is the Patrick Motorsports 3.6 coil pack mount. |
 Here are the coils mounted up. |
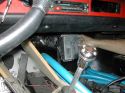
 JWest shifter bushing in place. |
 JWest shifter bushing in place. |
 The shifter is TIG welded together. |
 New shift rod installed and the universal joint bolted on. |
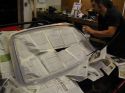
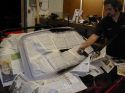
 Installing the windshield. T-N-T Auto Glass did the work for us! |
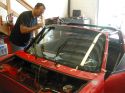 Installing the windshield. TNT Auto Glass did the work for us! |
 Windshield installed! Thanks TIM! |
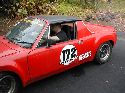
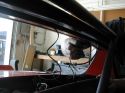
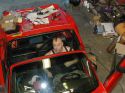 Andy in his car. |
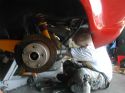
 Bleeding the brakes. |
 Bleeding the brakes. |
 Bleeding the brakes. |
 Getting close. |
 Oil lines are in. |
 Oil lines are in. |
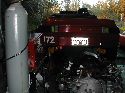
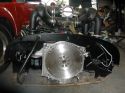
 Motor in for the last time. |
 Clutch adapter in place and torqued. |
 Clutch adapter in place and torqued. |
 Clutch adapter in place and torqued. |
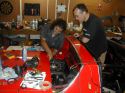 Tim & Mark test fitting the intake system. |
 Tightening the clamps. |
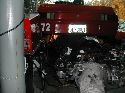
 Underneath |